| Illustrator Fundamentals |
| |
| Working with Layers |
| |
| Layers are nearly identical to groups in concept, but they offer more flexibility and functionality. Whereas groups are used to combine design elements in a file, layers also allow you to organize and combine elements within a file. Just as groups can be nested within each other, so can layers. And just as groups are containers that hold contents within them, layers are containers as well. In addition, layers, just like groups, can also have attributes applied to them. As we explore the power of layers in Illustrator, all of these concepts will come to light. |
| |
| Layers Palette |
| |
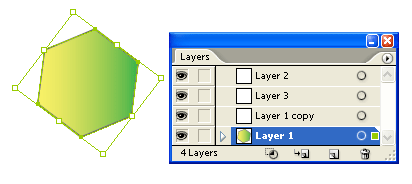
| Illustrator's layers are specified in the Layers palette. When you start a document, all artwork is automatically placed on a layer. To open the Layers palette, choose Show Layers from the Window menu. |
| |
 |
| Editing Layers |
| |
| Some designers prefer to create several layers before they begin working, adding the art to each layer as they progress. Others prefer to add or delete layers as necessary, as they work on a project. Still others like to create the entire piece, and then chop it up into different layers. No matter which way you do it, though, you have to learn how to add and discard layers. |
| |
| Creating a New Layer |
| |
| The easiest way to create a new layer is to click the New Layer button at the bottom of the Layers palette. Illustrator creates the layer and assigns it a name. |
| |
 |
| |
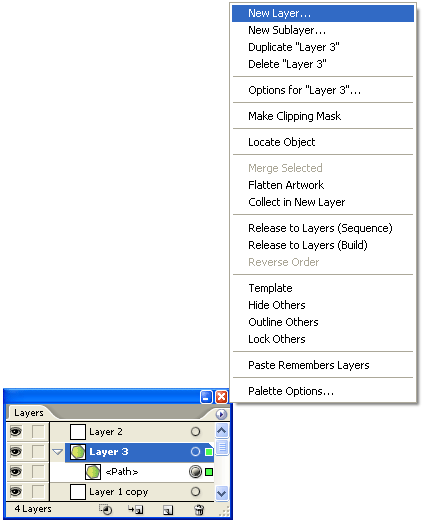
| Another way to create a new layer is to select New Layer from the Layers palette menu.
Click on the small triangle right on the layers palette as shown in figure below. |
| |
 |
| |
| Choosing New Layer from the Layers palette menu. |
| |
| Deleting a Layer |
| |
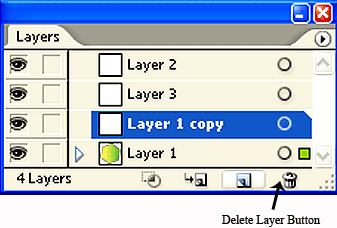
| To delete a layer, click the name of a layer and drag it to the Trash icon in the lower-right corner of the Layers palette |
| |
 |
| |
| Alternatively, you can delete a layer via the Layers palette menu. But what if the layer you are deleting contains artwork? Turns out Illustrator is keeping a watchful eye out for us. If you try to delete a layer with art on it, you get a warning message alerting you about the situation, and Illustrator only proceeds to delete the layer and its contents if you click OK. Otherwise Illustrator returns you to the document with the layer intact, where you can copy the art to another layer. |
| |
| Duplicating a Layer |
| |
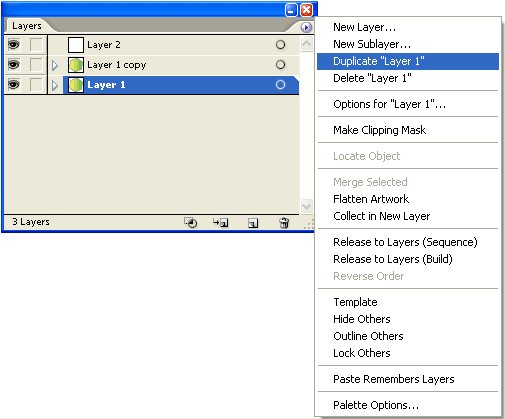
| Sometimes you want to make a copy of an entire layer. You can easily create a duplicate of a layer by clicking the name of an existing layer and dragging it to the New Layer icon on the bottom of the Layers palette. Again, you can also create a duplicate by selecting Duplicate Layer from the Layers palette menu. The attributes, as well as all the artwork contained on that layer, are duplicated, and Illustrator adds the word "copy" to the layer name. |
| |
 |
| |
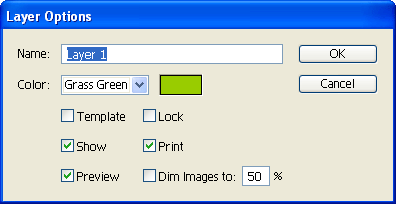
| Layer Options |
| |
| Each layer has several attributes that facilitate your work, as well as add functionality to the layers. Double-clicking the name of a layer brings up the Layer Options dialog box. |
| |
 |
| |
| Arranging Layers |
| |
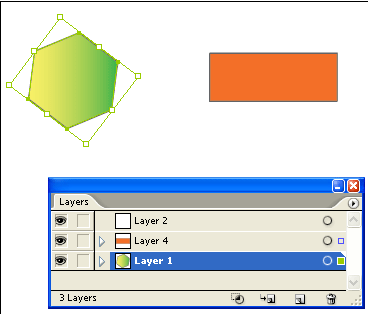
| By simply pressing and dragging on the layer name, you can change the order of the layers. The order of layers determines which objects are in front of others. The objects of a layer closer to the top of the list in the Layers palette appear on top of those objects in layers closer to the bottom of the list. |
| |
| Moving/Copying Items Between Layers |
| |
| Many times you need to move objects from one layer to another. Instead of making you copy and paste objects, Illustrator has an intuitive feature built in to the Layers palette specifically for the purpose of moving and copying objects between layers. |
| |
| When an object is selected, notice a little dot on the far right of the layer name in the Layers palette. To move your selected object to another layer, simply click and drag the dot to another layer, and the object is transferred to the new layer. The selection color changes to the new layer's color, too. |
| |
 |
| |
| Locking and Hiding Layers |
| |
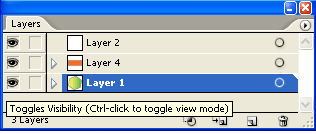
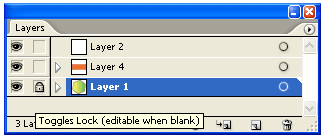
| One of the advantages of using layers is the ability to quickly lock or hide the objects on each layer. Notice that to the left of each layer are two boxes. The left-hand box controls the view, whereas the right-hand box controls locking. An eye in the left box indicates that the layer is fully visible in your document. |
| |
| To hide the layer, click the eye, and the objects in that layer aren't visible in your document. Clicking again in the left box makes the layer visible. |
| |
 |
| |
| Here you can name the layer, which is an important step. As you add more and more layers, it becomes increasingly difficult to remember which items are on Layer 23 and Layer 14. By giving intuitive names to layers, you can quickly identify where items are. In the Layer Options dialog box, you can also assign a selection color . |
| |
 |
| |
| |
|
| |