| Installing MySQL |
| |
| Post Install Configuration |
| |
| When we install MySQL server 5.0 on windows we need to configure the MySQL server options such as root password, char-set, anonymous access, database file location etc.
This procedure is known as Post Install Configuration. |
| |
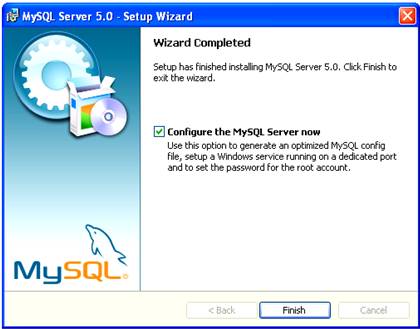
| To Configure MySQL server instance on your machine, follow these steps: After MySQL installation is complete, Select the "Configure the MySQL Server now" and Click on Finish button. |
| |
 |
| |
| |
 |
| |
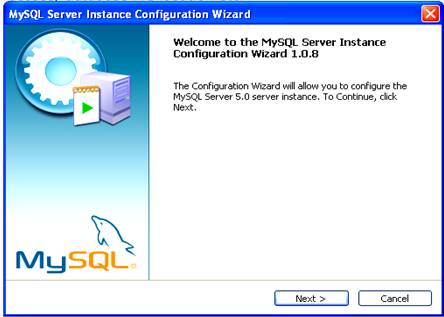
| MySQL Server Instance Configuration wizard is displayed click on Next to begin. |
| |
|
 |
| |
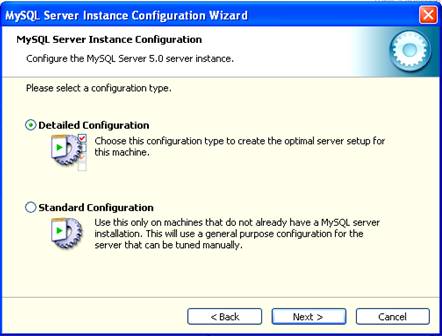
| Select the Configuration type and click on Next. Detailed Configuration allows us to configure almost everything such Server type, Database type, Datafile location, Number of connections and TCP/IP port etc; on the other hand Standard Configuration allows us to configure minimal options. |
| |
I will advice you to select Detailed Configuration option for maximum optimization and full utilization of MySQL server services.
This chapter will use Detailed Configuration to guide you how to configure MySQL Server instance. |
| |
 |
| |
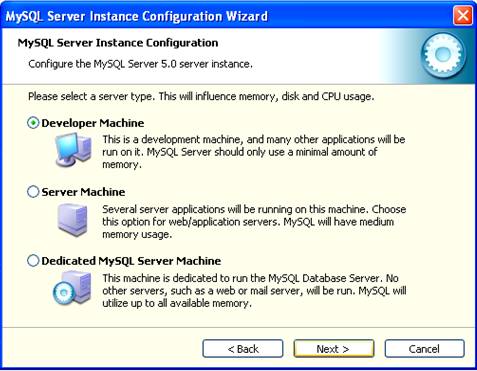
| Select Server type, remember your selection will influence memory and CPU usage, so be cautious. I will suggest you to select Developer Machine, because this type of MySQL Server use minimum memory and thus best suited for individual usage.
Select the desired option and click on Next. |
| |
 |
| |
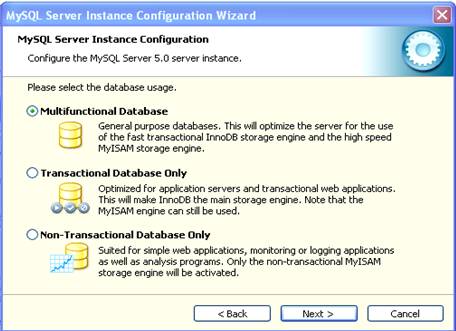
| Select the Database usage, Multifunctional Database in best for individual uses, and click on Next. |
| |
 |
| |
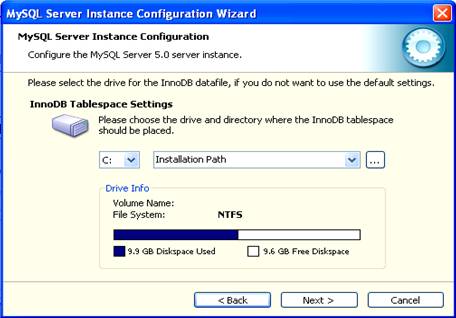
| Select the Datafile location, default location is installed directory and click on Next. |
| |
 |
| |
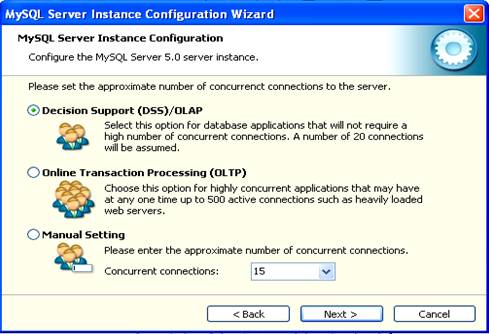
| Set the approximate number of concurrent connections to the server and click on Next. |
| |
 |
| |
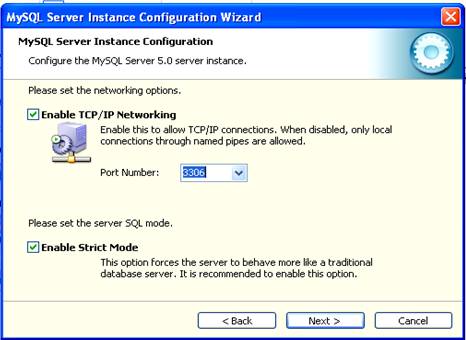
| Select the TCP/IP port and click on Next. |
| |
 |
| |
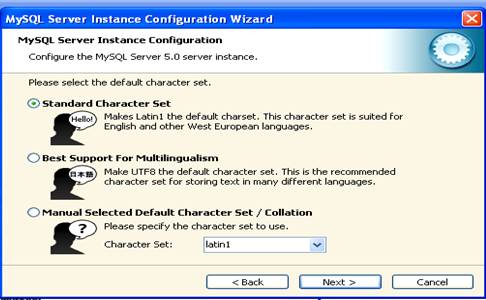
| Select the default Char Set and click on Next. |
| |
 |
| |
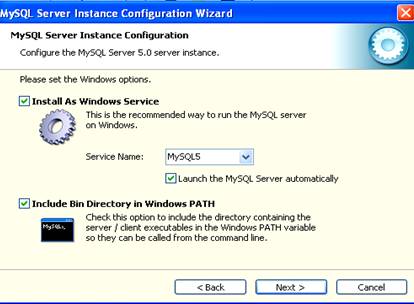
| Set the Windows options such as Windows Service Name and Windows PATH options and click on Next. |
| |
 |
| |
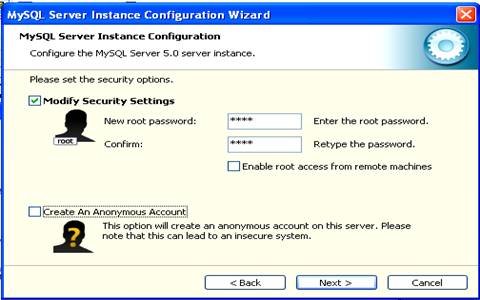
| Modify the security settings as per your choice and click on Next. |
| |
 |
| |
| For Animated Presentation Click Here |
| |
| |
|
|
| |
| |
