| ASP.Net HTML Server Control |
| |
| An Example of Using HTML Server Controls |
| |
| How to Add the HTML Server Controls in Web Page? |
| |
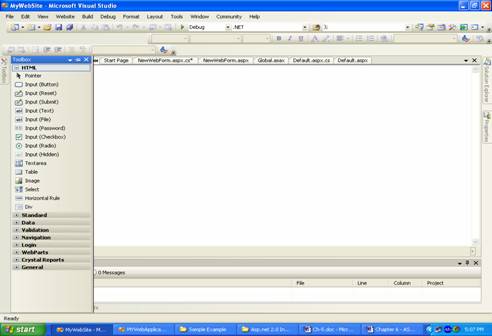
1. Open a web page in Design View.
2. Click on Toolbox tab to make it available to use.
3. Select the âHTML? item in the Toolbox.
4. On selecting âHTML? you will get the listing of HTML controls. |
| |
 |
| |
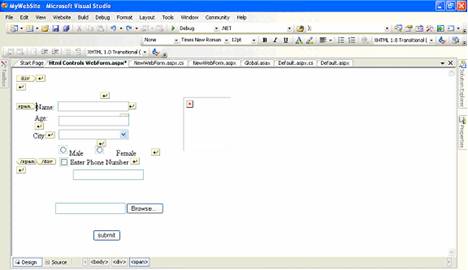
| 5. Select the control and keeping mouse button pressed drag it to the web page. |
| |
| In this example the used HTML Server controls are following: |
| |
Input Text box
Input Button
Input Select
Input Radio button
Input Checkbox
Input File
Input Image |
| |
 |
| |
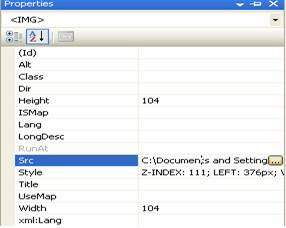
6. Select the control using mouse then click on the âProperties Window? tab to modify the properties like font color, font size, font family etc.
7. Enter the text in front of Text property and press Enter key. |
| |
| Note: Here you can see the Image control (which contains a small image with âX? in red color). |
| |
| To set an image url or source set it using âSrc? of Image control, you can write path of the url or source and also can browse the location using this button as given in the figure given below. |
| |
 |
| |
Note: If you face problem to position the control in the web page then use following methods:
⢠Select the control, go to âLayout? menu and select âPosition? then select âAbsolute? option. Now you can position the control by dragging on the web page.
⢠Click mouse near control, use Space key to move it horizontally and Enter key to move it vertically. |
| |
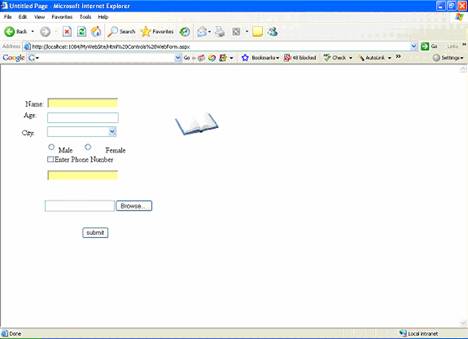
| 8. Press F5 to run. |
| |
| The output is given in the following figure. |
| |
 |
| |
|
| |